Not that this is anything new and revolutionary, but this might
still be new to someone out there. When making wings for F3A models I
focus on making them stiff and sufficiently solid, while keeping the importance
of light weight in the back of my mind. As usual the description is step
by step with pictures. But, first a table showing the weight-progress of
the swept-back wing for my Gaudius.
| Part and/or progress |
Weight [g] |
| Foam-cores |
107 |
| Root-ribs |
11 |
| Core with ribs in place (hole for tube cut) |
119 |
| Wing-tube sleeves |
11 |
| Ready for sheeting |
132 |
| Sheeting (slightly oversized) |
90 |
| Sheeted (sheeting cut to size) |
247 |
| With leading and trailing edges |
250 |
| With separated completed ailerons and wing-tips |
266 |
| With box and hole for servo, and sanded to fit fuselage |
266 |
| Completely sanded, ready for covering |
260 |
| Covered with Super Monocote |
306 |
 |
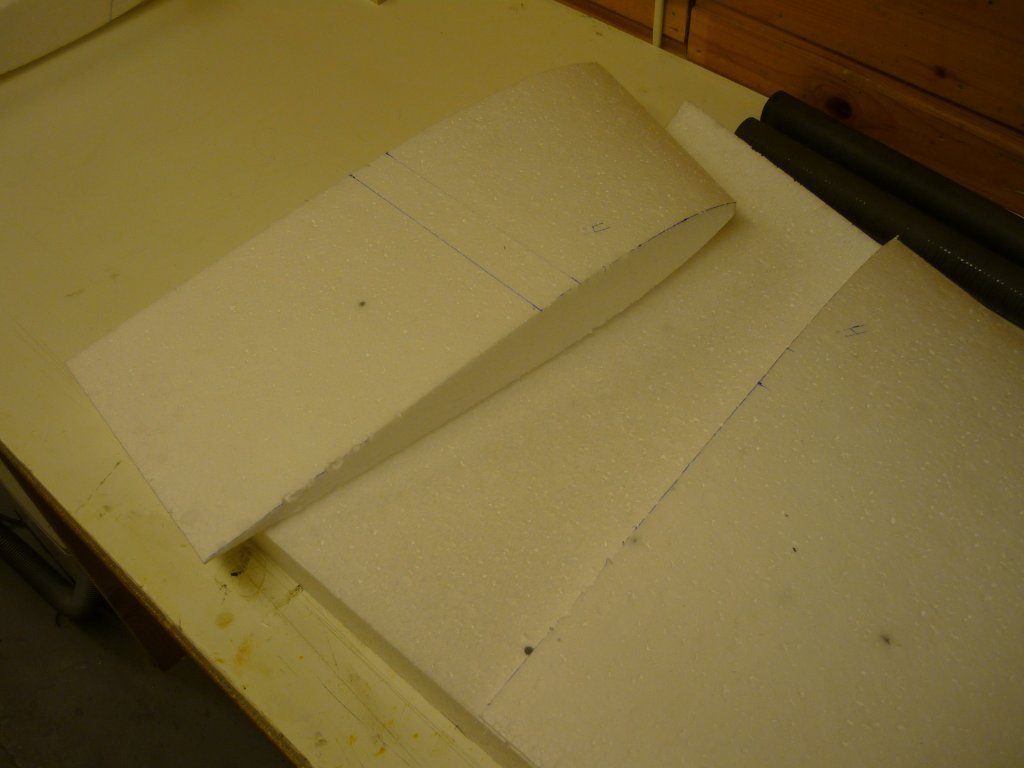
The cores are cut, manually with a little help
from a friend and the root-ribs are from balsa plywood with carbon
(home-made) and balsa (CNC routed). The dihedral of the wings are made by cutting
the cores at correct angle in the block of foam. The foam I use is
of so-called S60 quality with a weight of 14kg/m^3.
|
 |
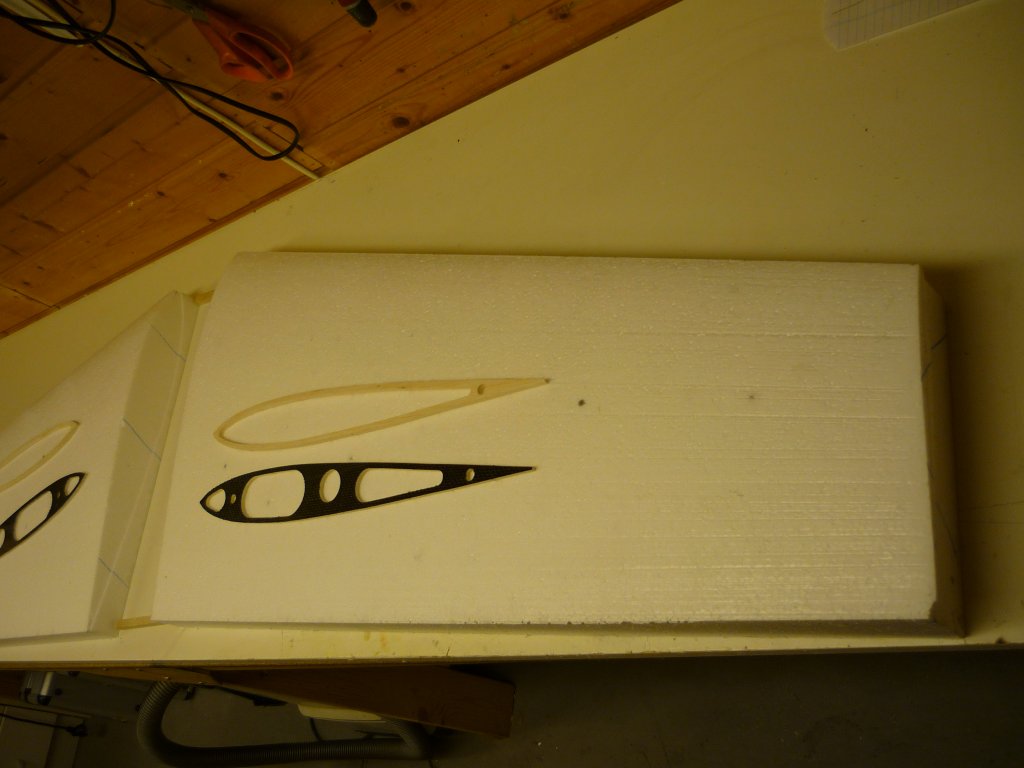
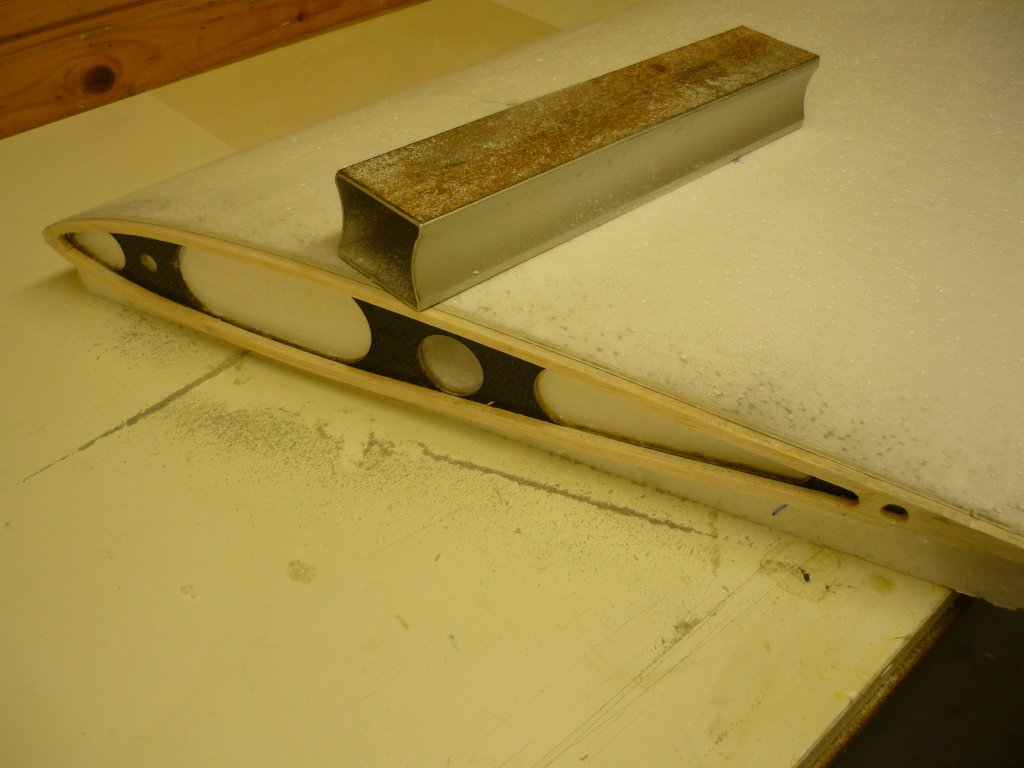
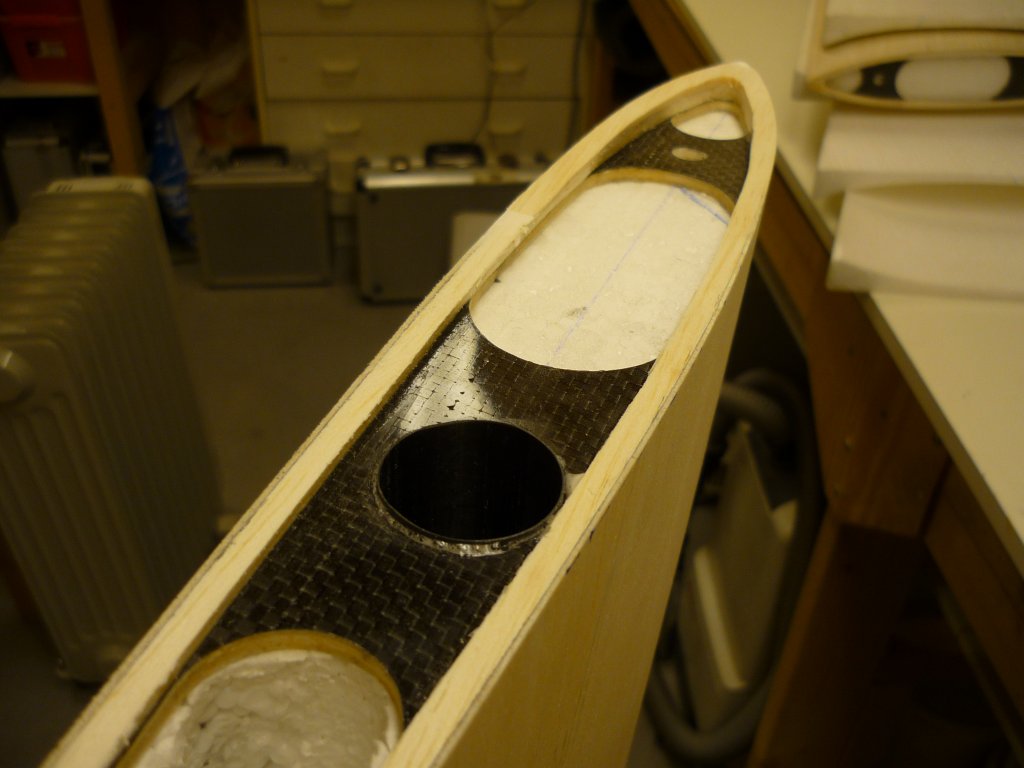
To distribute the forces over a larger area,
there will be a rib (balsa plywood) at the end of the tube. To get
it properly mounted the inner part of the wing is cut loose with a sharp
knife. |
 |
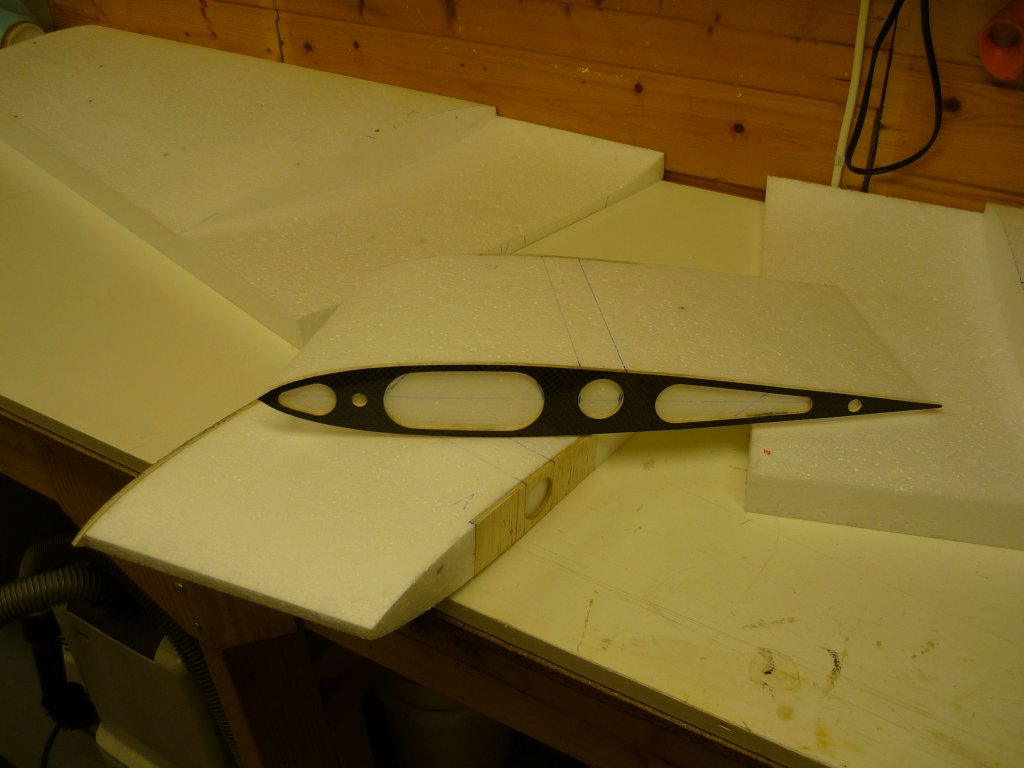
The ribs at root and end of tube are
test-assembled to see that it all fits. For low weight I use the special
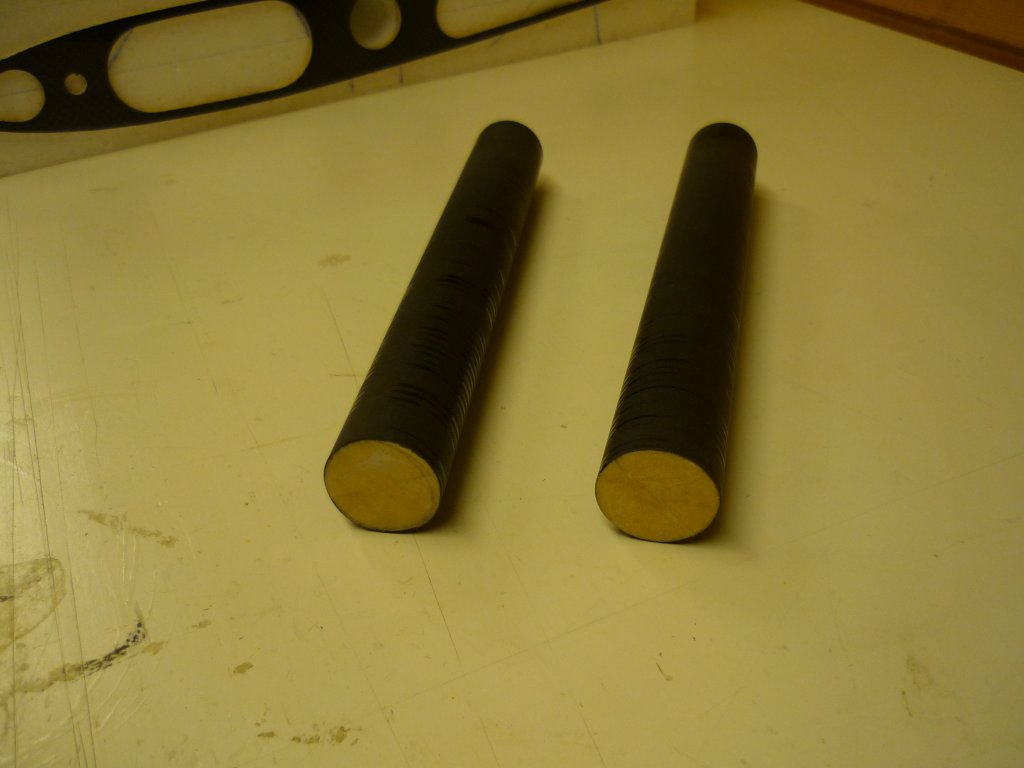
30mm F3A tube-sleeve assembly from PBG-composites
(PBG36TS) |
 |
The ribs are glued to the inner-part of the
wing, I typically use polyurethane glue for this (slightly expanding type
of glue) |
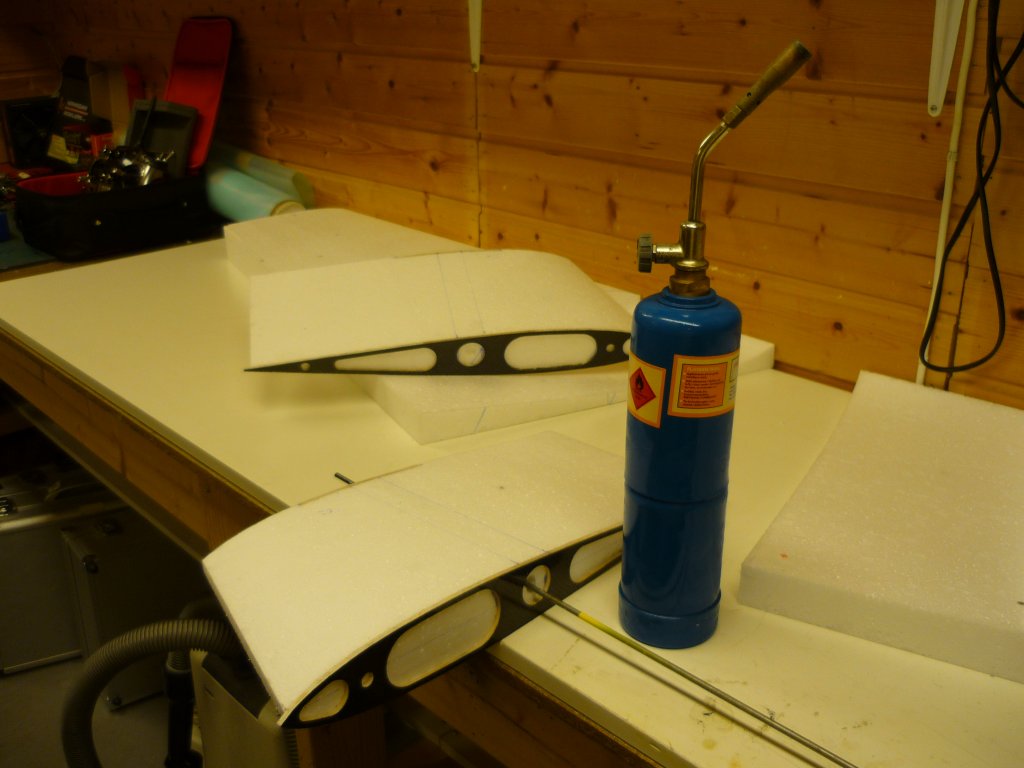 |
A music wire heated by a torch is used to
create a pilot-hole through the foam. |
 |
A small foam-cutting device is used to cut out
the hole for the sleeves. |
 |
A super-smooth hole for the wing-tube sleeve,
now the inner part of the foam-core can be glued back in place (PU-glue
again) |
 |
The sleeves are prepared with 5mm end-grain
balsa glued in at the outer end |
 |
The outer root-rib are glued in place and both
are sanded to match the surface of the cores. Also the foam itself are
sanded smooth before adding the balsa sheeting. The outer rib is
there to have something to sand down to make the wing fit to the fuselage. |
 |
The sleeves are glued in place (PU glue) and
the wing tube is test-fitted to both wings. The cores are now ready
to be sheeted. |
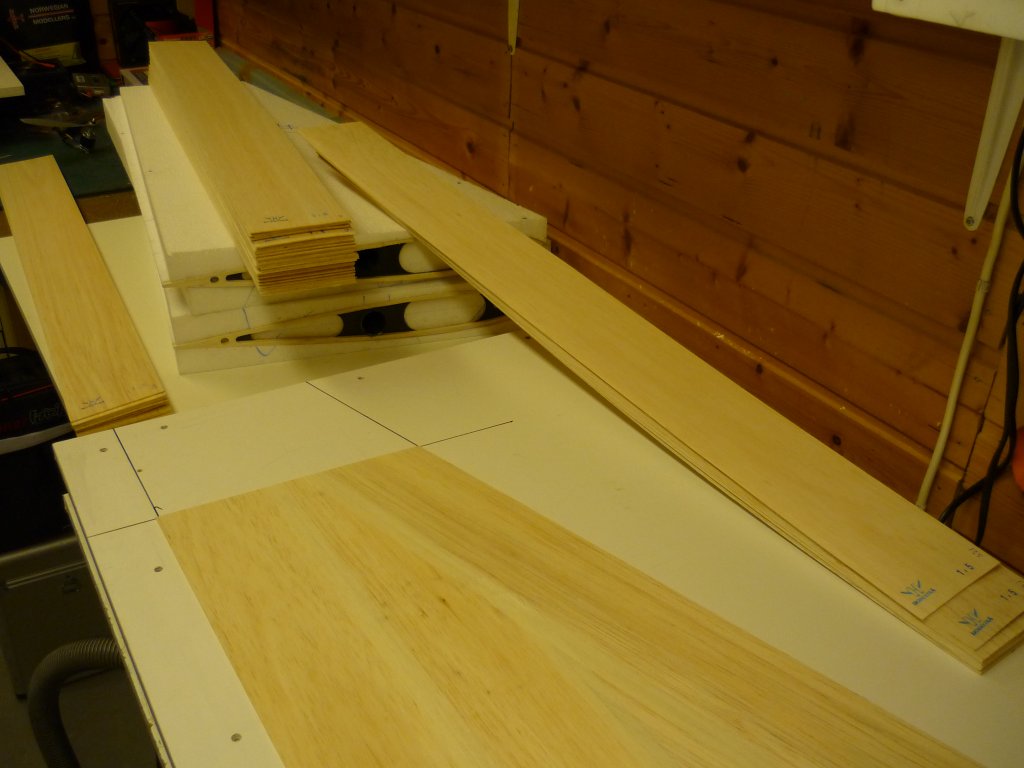 |
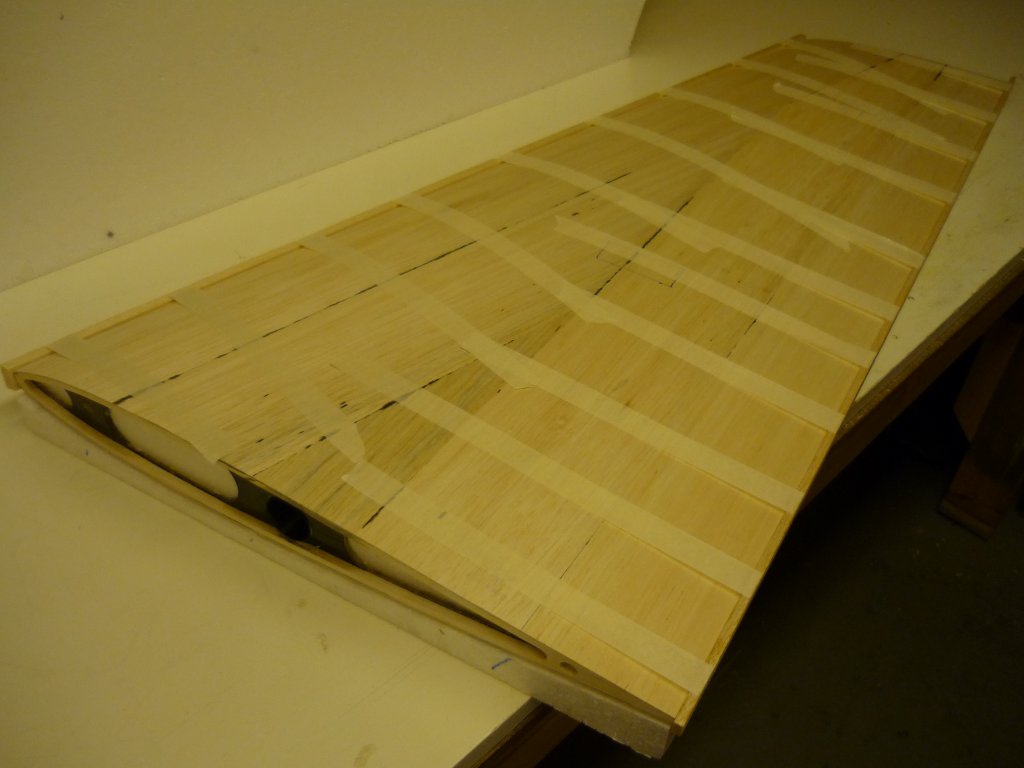
When making the balsa-skins I try to match the weight
of the materials. I use light (12-14g) sheets of 1.5mm balsa for
most of the wing, for the rear sheet that will make up the aileron is use
15-17g sheets. |
 |
One wing is in the bag, a full description of
how I do this can be found here. |
 |
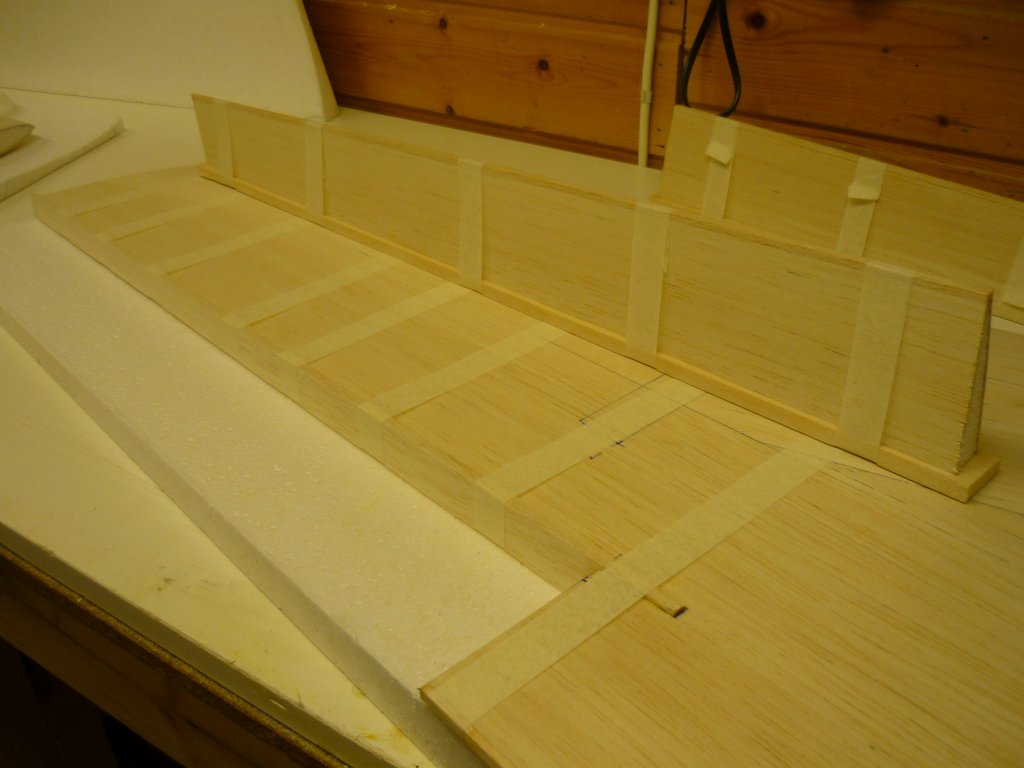
Leading and trailing edges are glued in
place. I use soft balsa for the leading edge, and quite hard for the
trailing edge. |
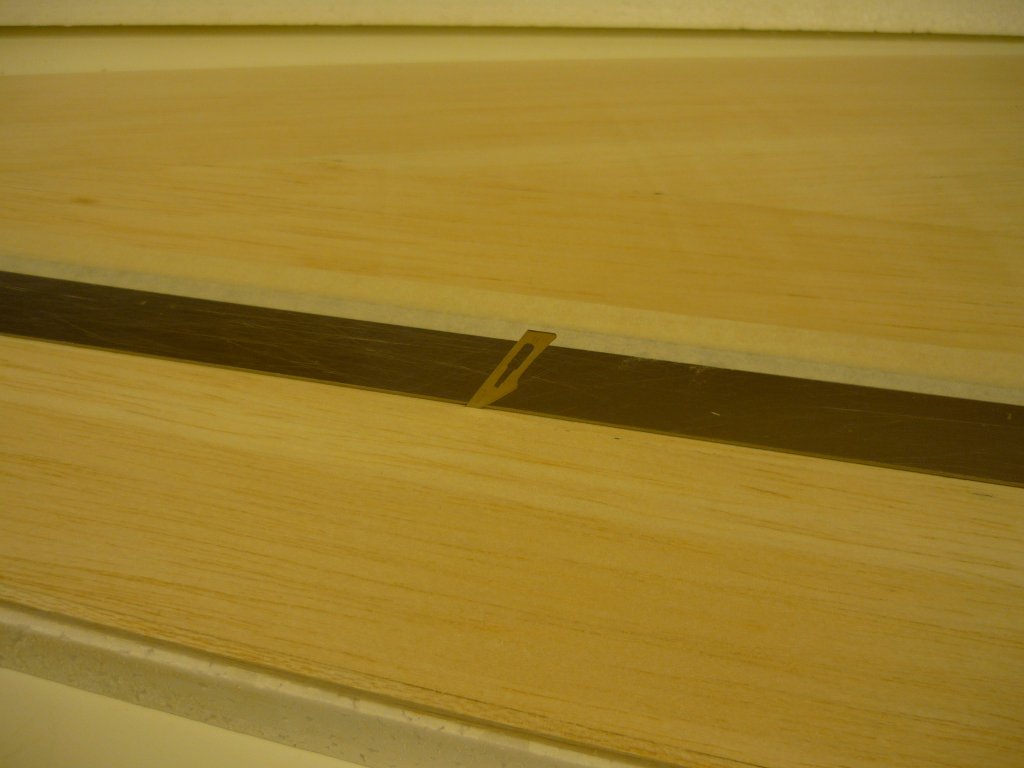 |
To cut out the ailerons, I first use a sharp
knife and a straight edge to cut just through the sheeting on both sides. |
 |
The I use a longer (still a sharp one) to cur
through the foam. |
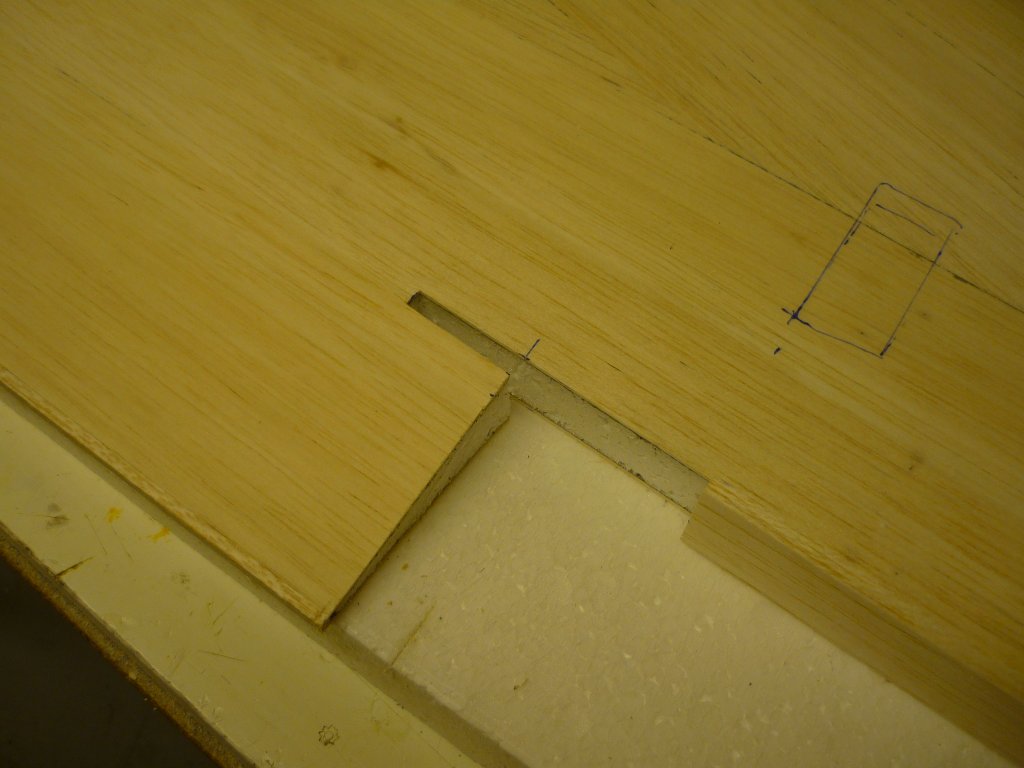 |
To avoid making high stress areas it is
important to let the balsa for aileron hinges extend some cm towards the
root of the wing. This must be a smooth fit for the balsa to be
glued all the way. Sharp knifes and straight-edges again. |
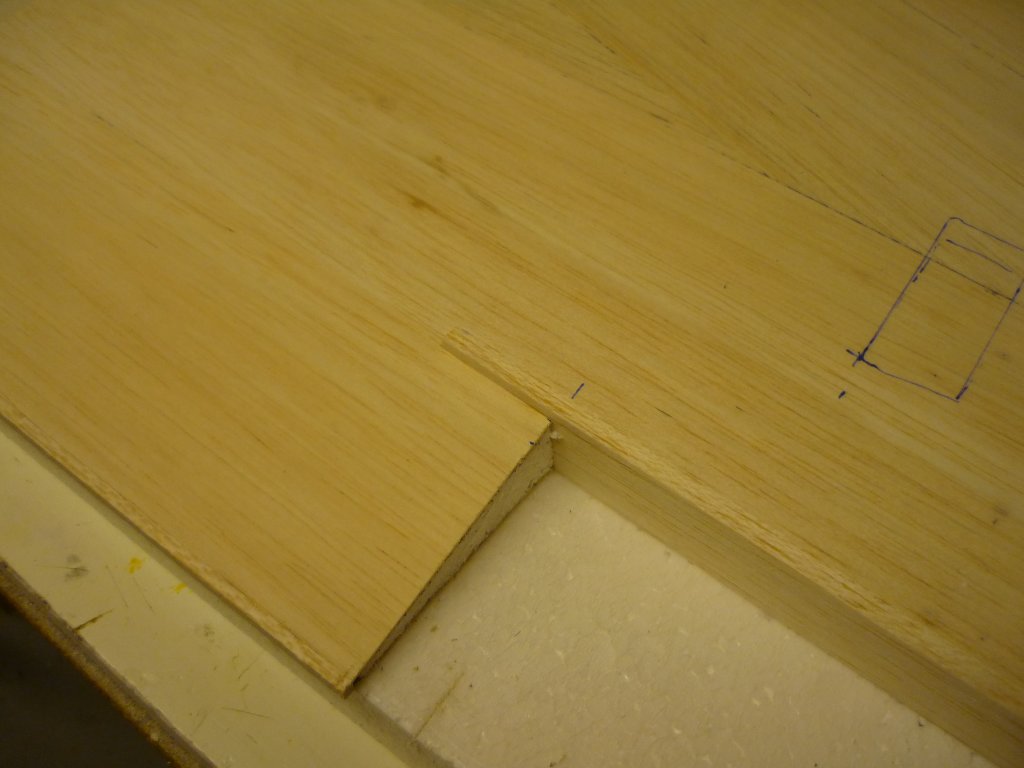 |
Perfect fit. |
 |
The balsa is glued to the wing and
aileron. I use medium 6mm balsa on the wing, and light 8mm on the
aileron. |
 |
The tip and the ends of the aileron is in
place. Soft balsa for the tip (15mm) and hard 2mm at the inner end
of the aileron. |
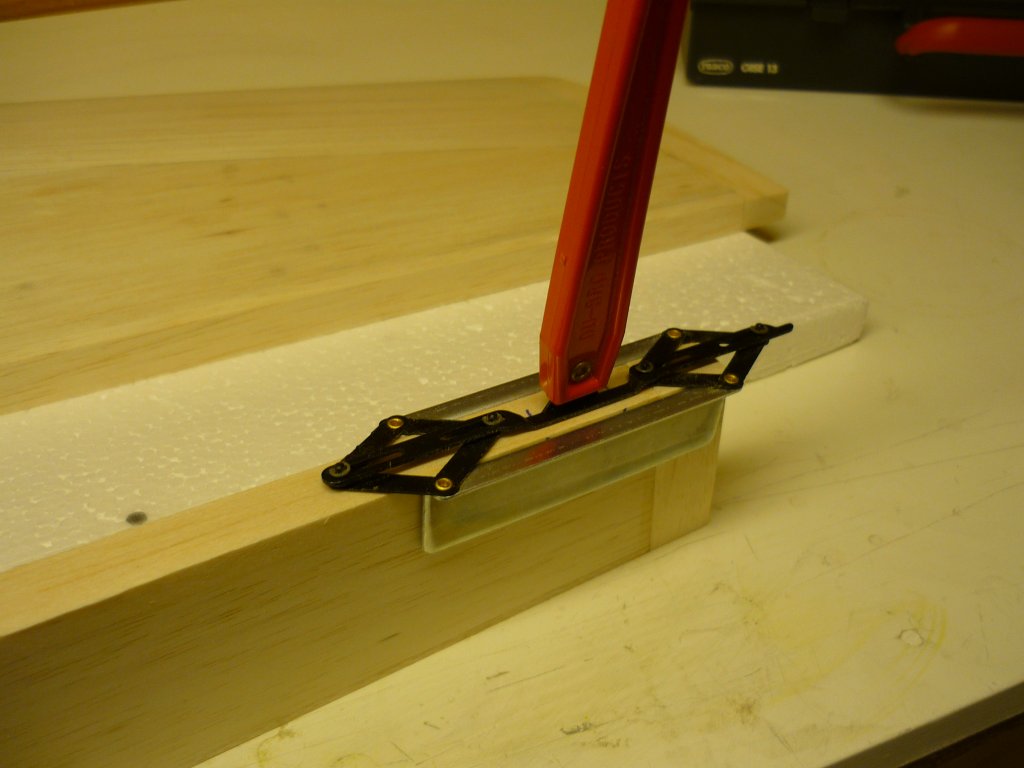 |
Cutting slots for the hinges using a DuBro
cutter and a Tettra center-aligner. |
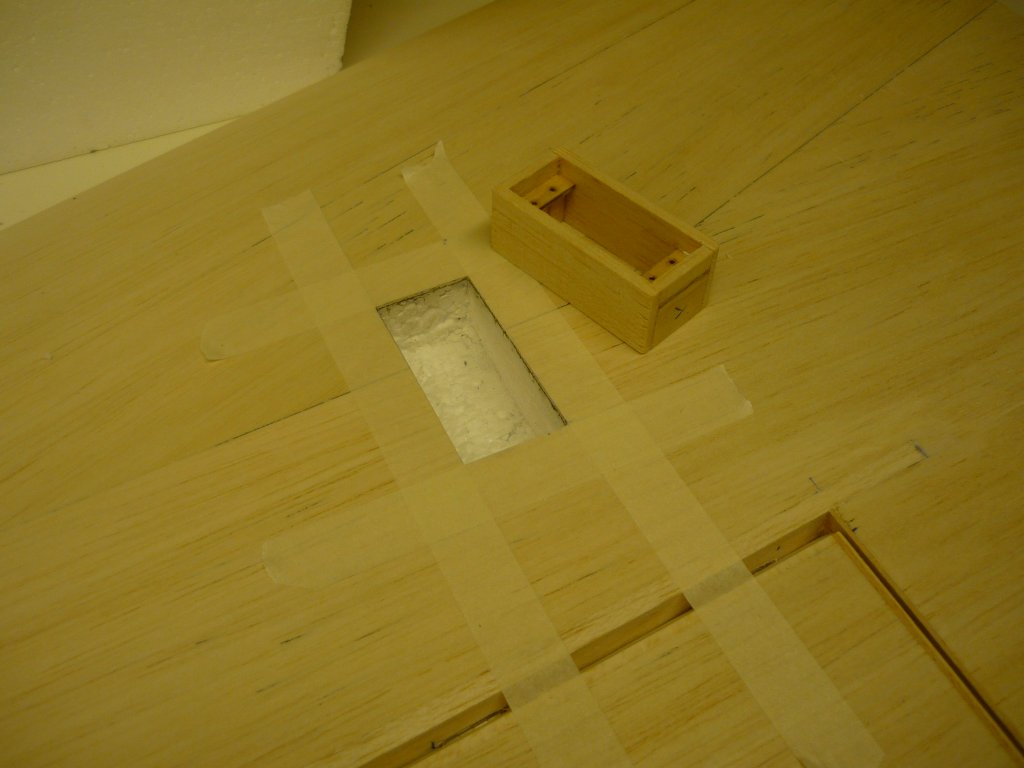 |
The servo-mount is made, the hole for it is cut
(sharp knife) and tape applied to avoid spill of glue onto the wing
surface. The
servo-mount is made like this. |
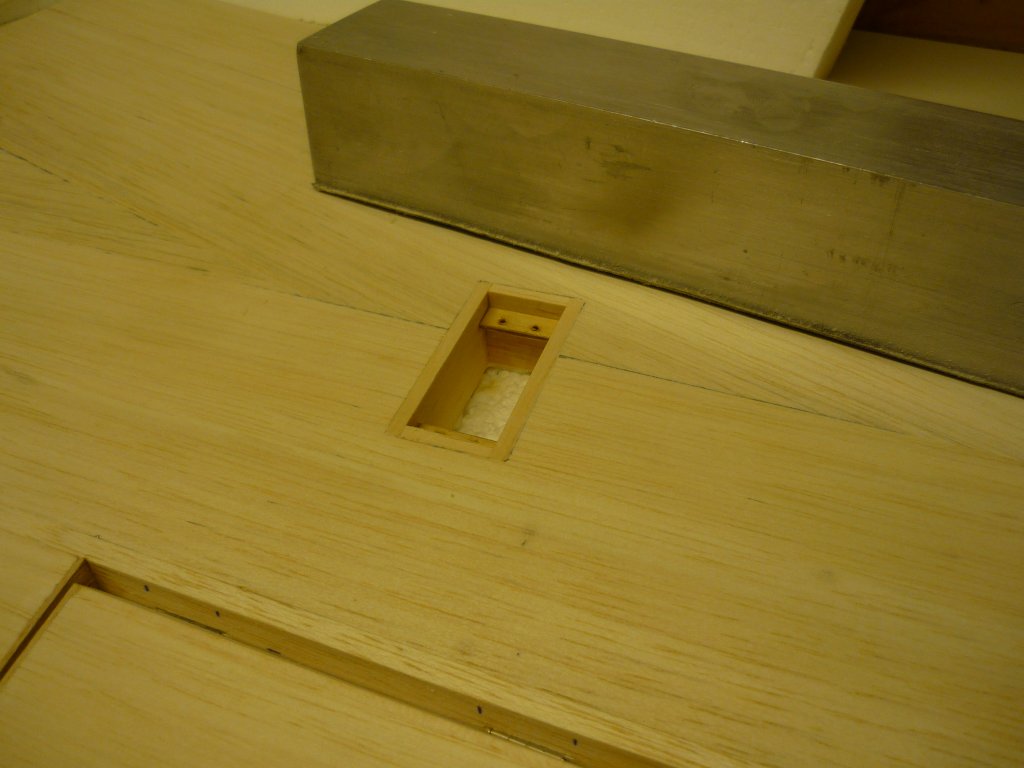 |
When the glue (epoxy) is cured the mount can be
sanded flush with the wing. The
hole through the foam for the servo-cable is then made this way. |
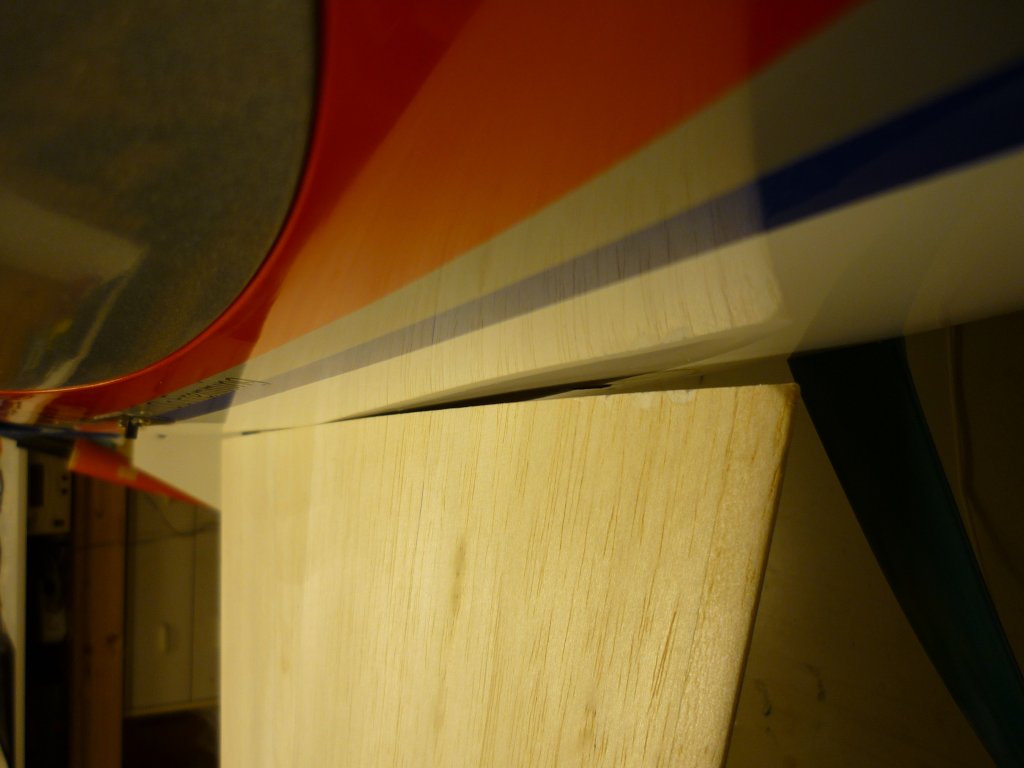 |
The fuselage-side of the airplane that these
wings are meant for are not exactly flat as this picture shows. But,
since a 5mm balsa frame was glued to the root-rib before sheeting there
are plenty of material to sand on to get a better fit. |
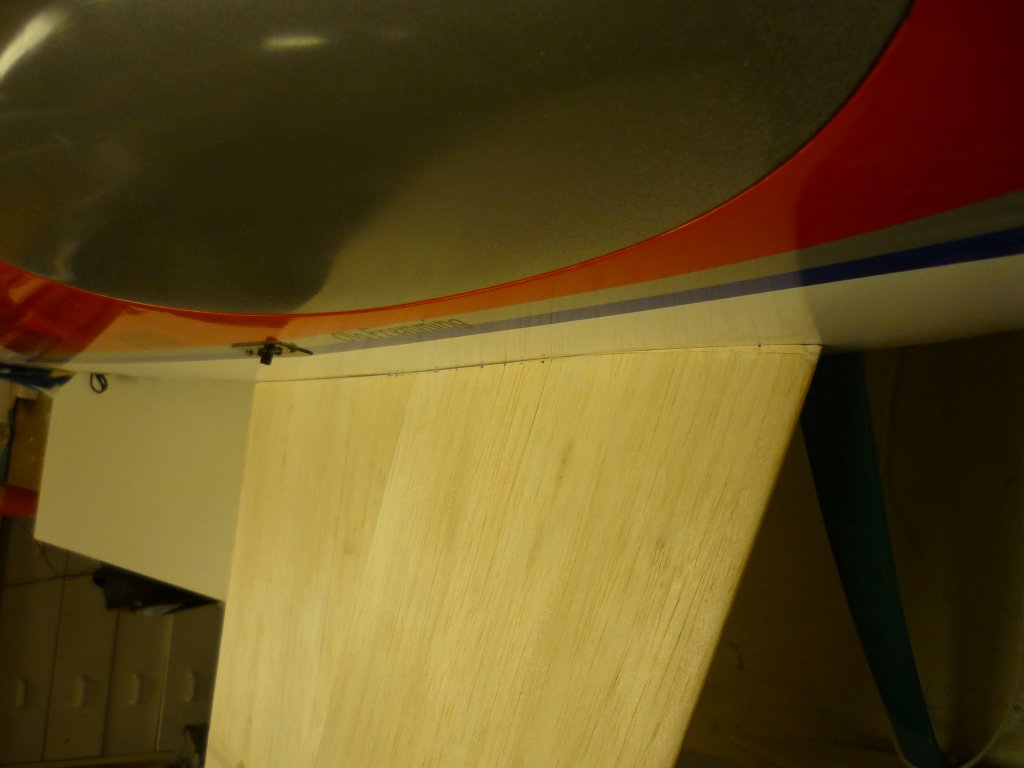 |
After sanding and adding some more balsa
towards the leading edge (and more sanding) the fit is much better. |
 |
The root after sanding, there are significant
differences in thickness of the balsa to make it fit the fuselage. |
 |
The big hate-job is done, final sanding. I
typically use 220 grit paper to sand it all to correct shape, and 400 to
sand the wood to a smooth surface before applying the Monocote. |
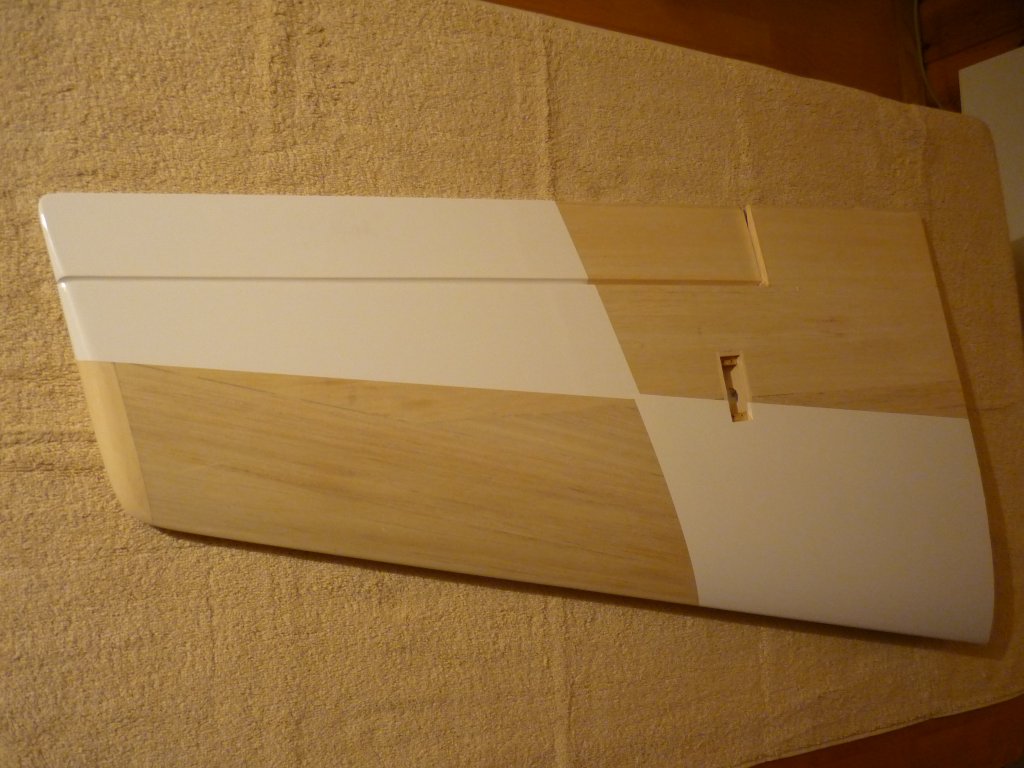
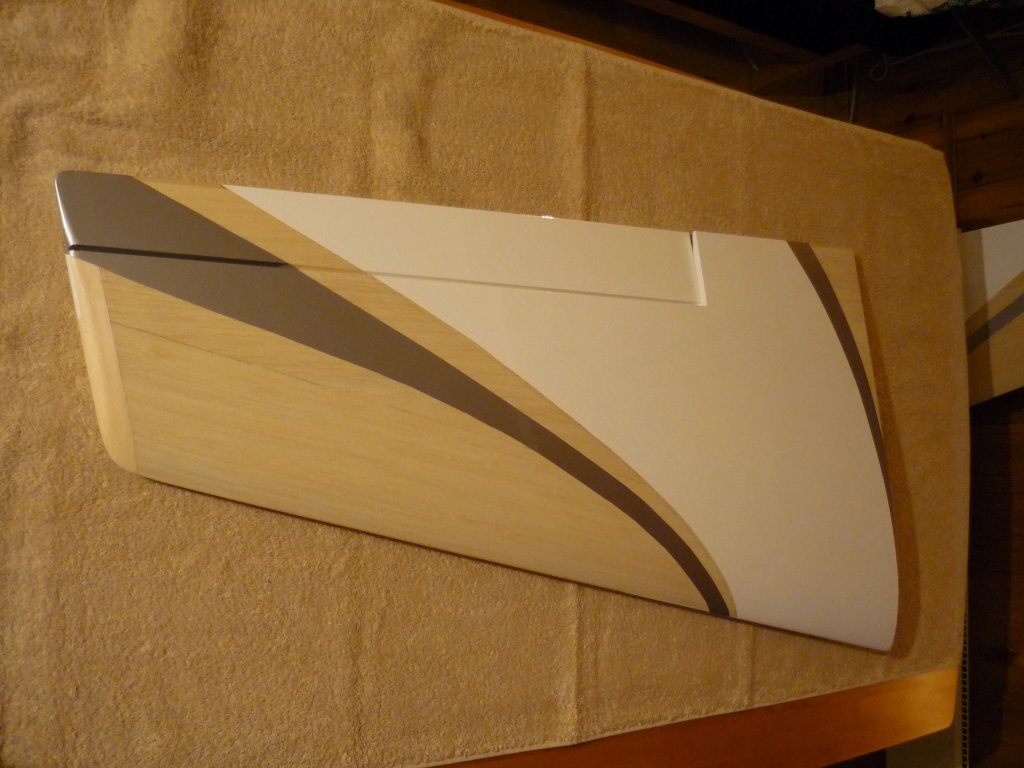
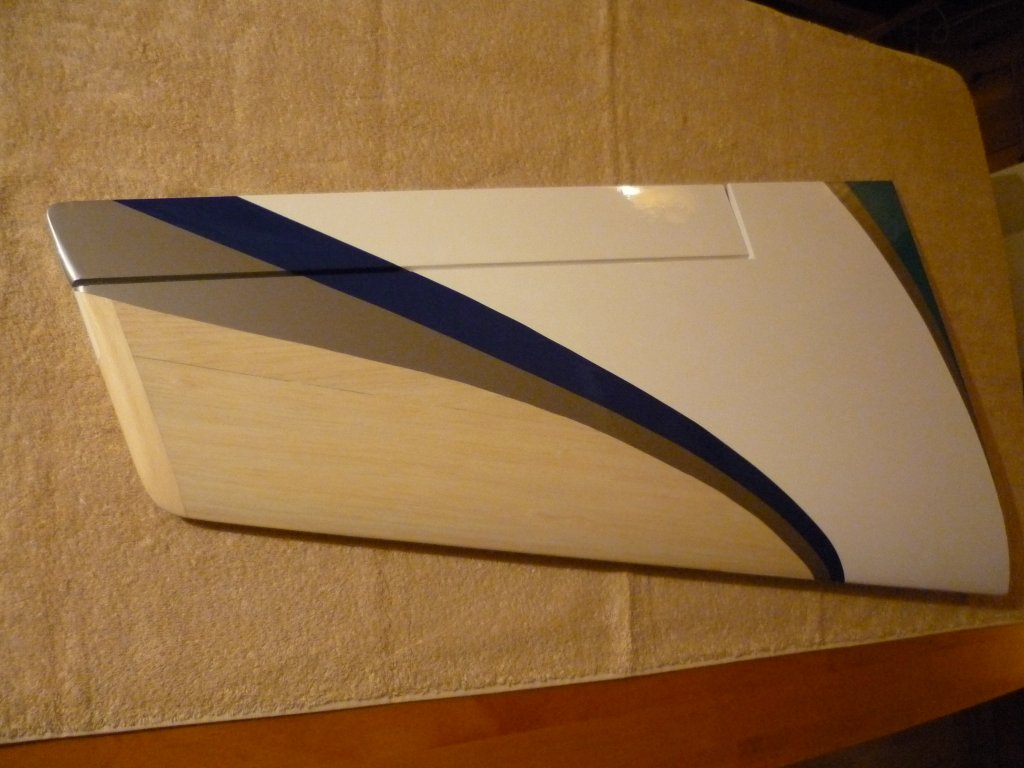
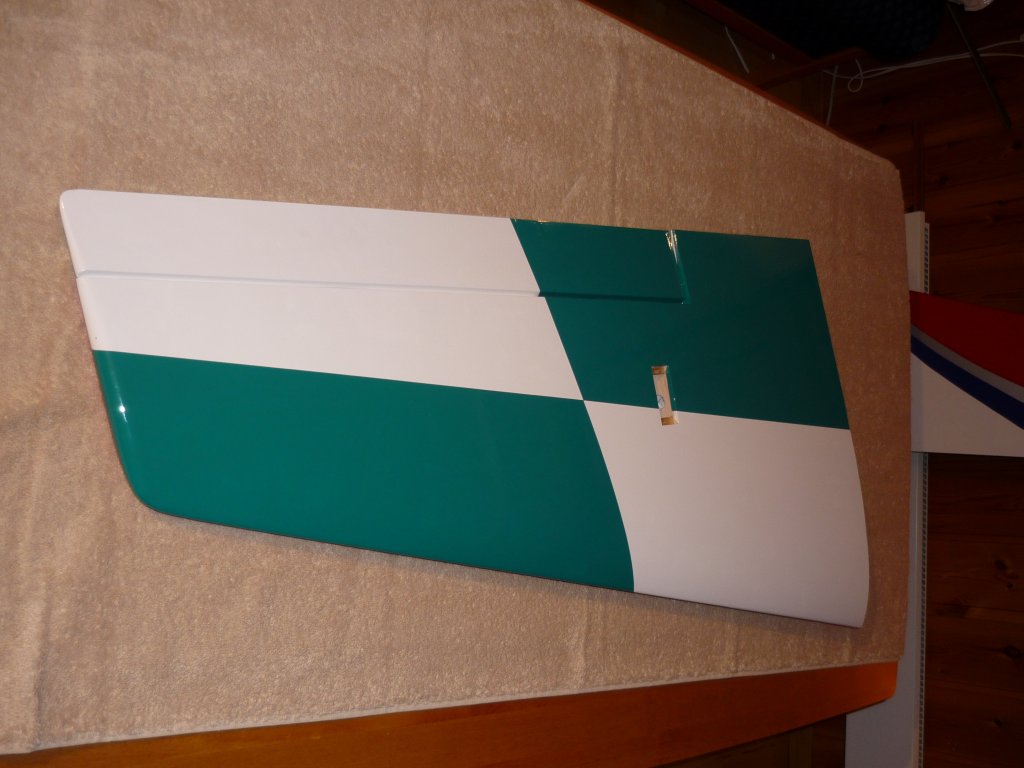
| Covering, color by color |


 |